
Everything you need to know about cleaning your tiled splashbacks in Australia.
The two most popular materials for splashbacks in Australia are ceramic tiles and glass sheeting. Something we get asked a lot is, “are tile splashbacks easy to clean?”.
We have all the FAQs right here on tile splashbacks, pros and cons, and how to clean them.
Where are tile splashbacks found?
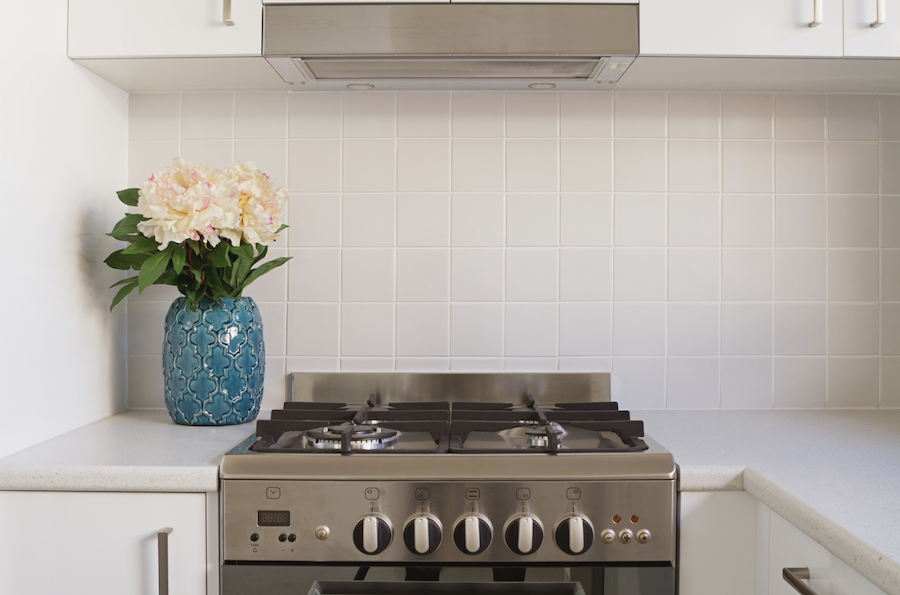
Tile splashbacks are found mostly in areas that attract mess or moisture such as; bathrooms, kitchens and laundries. These are all the messy and wet areas of a home, so it is imperative they are cleaned regularly to avoid oil and mould build up.
If you’re someone who loves being in the kitchen experimenting with secret ingredients and forming new recipes, or you’re someone with kids who enjoy playing outdoors and running inside without cleaning off, a tile splashback is an invaluable addition to your kitchen and bathroom.
Splashbacks are also commonly found in the bathroom or laundry where they add a layer of protection from water and moisture, preventing costly damage in the future. Not only are these splashbacks convenient, but they also have the power to make for an eye-catching feature, adding style and character to your home.
What tools and products do I need to clean my tile splashback?
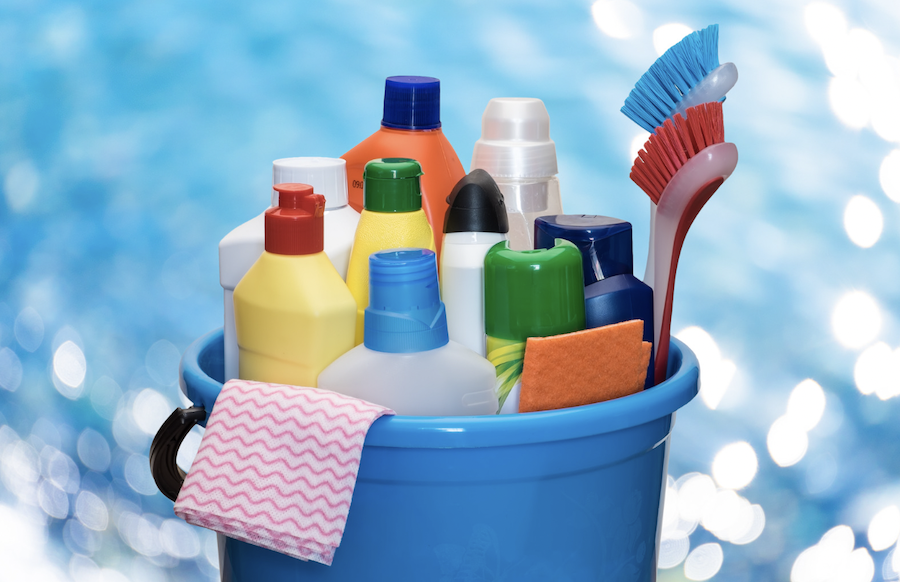
Cleaning tile splashbacks is a relatively easy task, requiring only a little time and effort. The best products to use depend on;
- How often you make a greasy mess
- How long it has been since you last gave your splashback has had a decent clean
The following cleaning options are bound to work on even the dirtiest splashback and grout.
Soap and water
Too often we underestimate the cleaning power of some simple and accessible soap and water. Messes made in your house, particularly in the kitchen, can be tended to with some soap, water, and a textured sponge.
Soap molecules are the perfect solution for breaking down grease. Grease will then become suspended in the water, and any extra grime can be further scrubbed off with the textured sponge – leaving you with a sparkling tile splashback.
Vinegar, baking soda and lemon juice
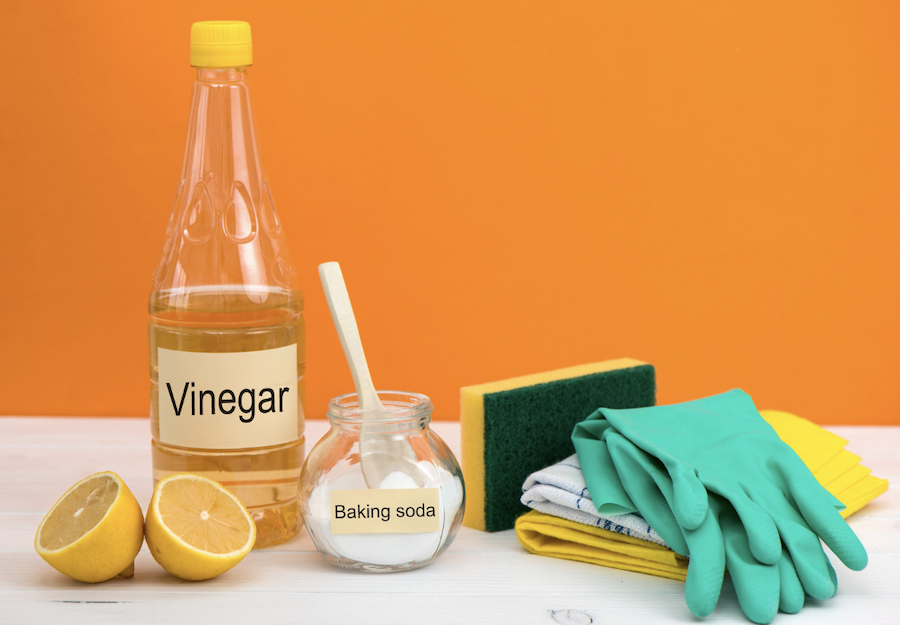
Although soap, water and sponge combo are bound to work on your everyday dirt, sometimes the built up grease on your splashback and grout will need something a little stronger.
This DIY potent cleaning agent combines 3 very common household products – vinegar, baking soda and lemon juice. Vinegar and lemon juice are both particularly acidic making them ideal for breaking down built-up scum and removing stubborn stains. Baking soda, on the other hand, is an alkali which works to dissolve grease in water for an effective removal. Therefore, combining the acidity of the vinegar and lemon juice with the alkalinity of the baking soda, makes for the perfect cleaning solution to return your splashback to its shiny self.
Bleach
Given that the kitchen is a space to prepare and consume food and beverages, it is not surprising that many people choose to steer clear of using bleach in this area of their homes.
However, it should be noted that bleach is an extremely effective cleaning product, which is also very safe so long as it is appropriately diluted. If the above 2 methods have effectively removed the surface grease from your splashback, but you are now noticing that underneath is mouldy, mildewy or discoloured, then bleach is the way to go. Bleach is a chemical cleaner containing oxidative agents which cause oxidisation when they come in contact with germs or stains, killing and removing them.
When using bleach make sure you have proper ventilation, eg. open windows, and doors and turn on the exhaust fans.
Sponge and toothbrush
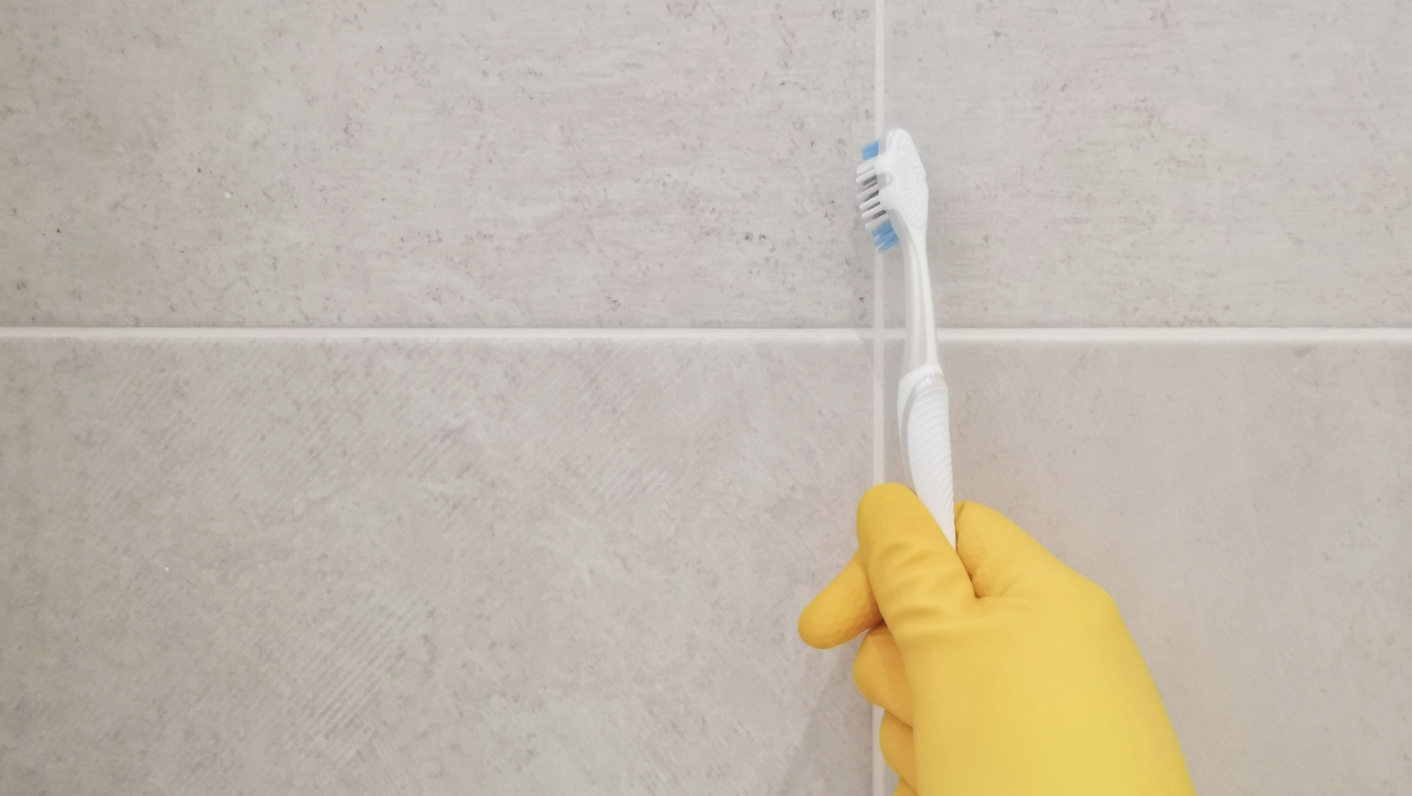
To apply and scrub in the above cleaning agents, you should use both a textured sponge and a toothbrush. A textured sponge will allow you to move the product around and scrub off any stubborn grease or grime that isn’t dissolved by the products themselves.
As for the grout around your tiles, a toothbrush is a great tool for getting into and scrubbing the smaller spaces that a regular sponge is unlikely to reach. A handy tip – ensure the toothbrush you use is kept strictly for cleaning the kitchen, and not for cleaning your teeth!!
Steps to clean a tiled splashback
Step 1 – use a soapy sponge and circular motions
To begin cleaning, soak your textured sponge in some warm, soapy water. Take the sponge and, using circular motions, apply it to the splashback to clean your tiles and grout.
Step 2 – wipe clean
Next, take a damp dish cloth and wipe the tiles and grout to remove any soapy residue.
Step 3 – make the cleaning cocktail
If build-up and stains are still present, it’s time for your DIY grease-fighting cleaning agent. Combine ½ a lemon, 2 tablespoons of baking soda and ¼ cup of white vinegar to make a paste.
Step 4 – scrub with the paste
Using your toothbrush – the one for the kitchen, not your teeth – apply the paste to your tiles and grout. Scrub the tiles and grout with the toothbrush or use a sponge if there is a larger area to cover.
Step 5 – wipe clean
Again, take the damp dish cloth and wipe the tiles and grout clean.
Step 6 – (optional)
Once the clean grout has fully dried, you may opt to apply one or two coats of a silicone-based grout sealer to protect your grout in the future.
Tips for cleaning tile splashbacks

Clean your splashback regularly
Cleaning your splashback on a regular basis will help to prevent a prolonged build-up of grease and grime and therefore reduce the need to complete a deep clean as often. Ideally, you should clean your splashback after each time you cook as this is the most efficient way to remove any residue before it sets in.
Alternatively, you should be cleaning your splashback at least once weekly to adequately keep up with the mess. Even if you do manage to do this, you will also need to perform a deeper clean every once in a while. This is the time to focus on removing any stubborn grease or food stains and for cleaning the grout to really get those tiles sparkling.
Clean stains when they happen
Although many stains are able to be removed with a deep clean using potent cleaning agents, the best way to avoid stains in the first place is to clean them up as soon as they happen.
By removing any spilt food or liquid when it first touches your tiles, you can avoid the substance from setting in and creating a stubborn, hard to clean stain. This will help to keep your tiles looking clean at all times and will likely add longevity to your splashback.
Use multiple cleaning products if needed
If after completing a thorough clean of your splashback you are still noticing the odd stain or slight grease residue, it’s likely that the cleaning product you are using isn’t doing the full job. In order to achieve a complete, in depth clean a good idea is to utilise the power of multiple cleaning products. Different products will contain different ingredients which essentially do different things yet all work to achieve the same goal – a clean splashback.
For a basic clean of a fresh mess a simple wipe with soap and water should do the trick. Consider then using vinegar, baking soda and lemon juice for your next clean to really achieve a deeper clean. And for those stubborn stains and grime, try bleach. A combination of products is the best way to really clean your splashback.
Grout and caulking
The grout and caulking are areas that can really show mould build-up. Avoid scrubbing too vigorously, and too often. We have seen some bathrooms where the grout has all been scrubbed away by an overly keen cleaning schedule.
Glass or tile splashbacks, which are easier to clean?
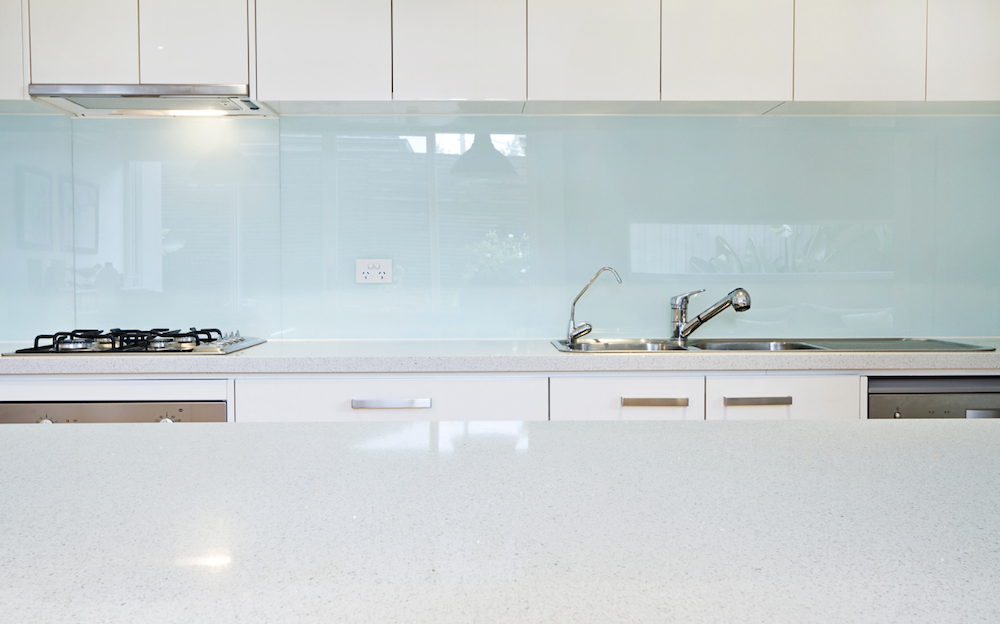
If you are about to renovate a new bathroom, kitchen or laundry and you need to decide on a glass splashback or tiled splashback then there are a few things to consider.
Glass splashbacks are going to be a lot easier to clean. There is no grout for grime to get stuck in, just a few joins of silicon. So you aren’t going to be scrubbing away in all the little nooks and crannies.
But your bathroom is going to have tiles already in areas like the shower and floor. So you might want to match this with tiles for the splashback behind a sink.
The easiest tiles to clean are going to be larger ones as there is less grout. Grout is where the grime will get caught into.
********************
Tile splashbacks are a fantastically convenient addition to your kitchen, bathroom and laundry keeping these spaces both clean and protected. To return this favour to your splashback, and keep it clean and protected, consider incorporating a regular clean using multiple products.
Using the equipment listed and following the steps outlined is sure to make this a quick, easy chore leaving you with a bright and shiny tile splashback.
If you are looking for tiled splashbacks that are easier to clean, think about getting bigger tiles rather than tiny ones. The smaller the tile, the more grout there is, and also the more chance for that grout to collect grime.
So, smaller tiles might look amazing, but thinking longer term, maybe go with the larger tiles as an option to cut down your cleaning time.
Are you located in the Bayside area of Melbourne and looking to renovate your bathroom or laundry? We are the experts in laundries, bathrooms and ensuites. Give us a call today to get your free quote with Peter.
Peter Conlan Bathrooms
Bayside, Melbourne, Victoria

